How to Download & Install Webex Teams for Windows
A downloadable copy of these instructions is available here.
To Download Webex Teams, please go to: https://www.webex.com/downloads.html/
Select the download for Webex Teams not Meetings.

Once you have downloaded Webex Teams, you will need to run the installer. The installer will download in the bottom left corner or you will need to navigate to your browser download folder.

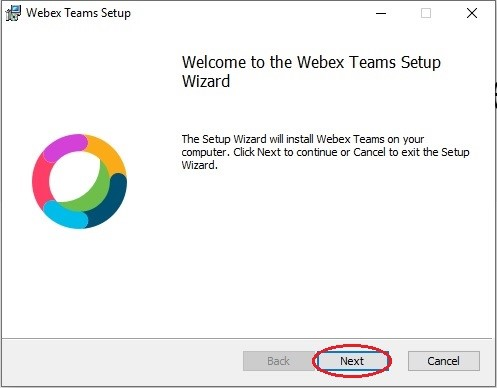
When presented with the Welcome setup wizard, please press Next.
After you press next, Webex Teams will start installing.
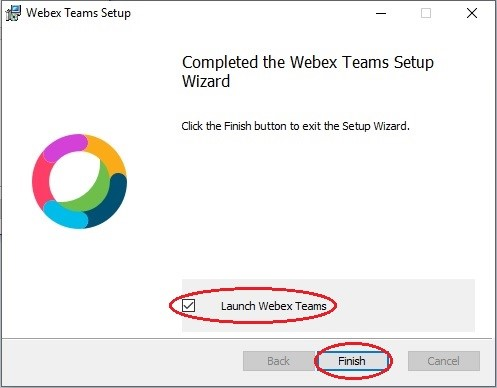
After the installer is finished, check “Launch Webex Teams”. Select Finish.
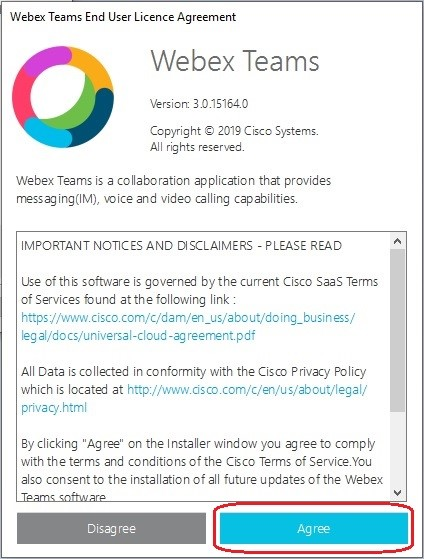
The Webex Teams application will launch. The EULA (End User License Agreement) will be displayed. Press Agree.
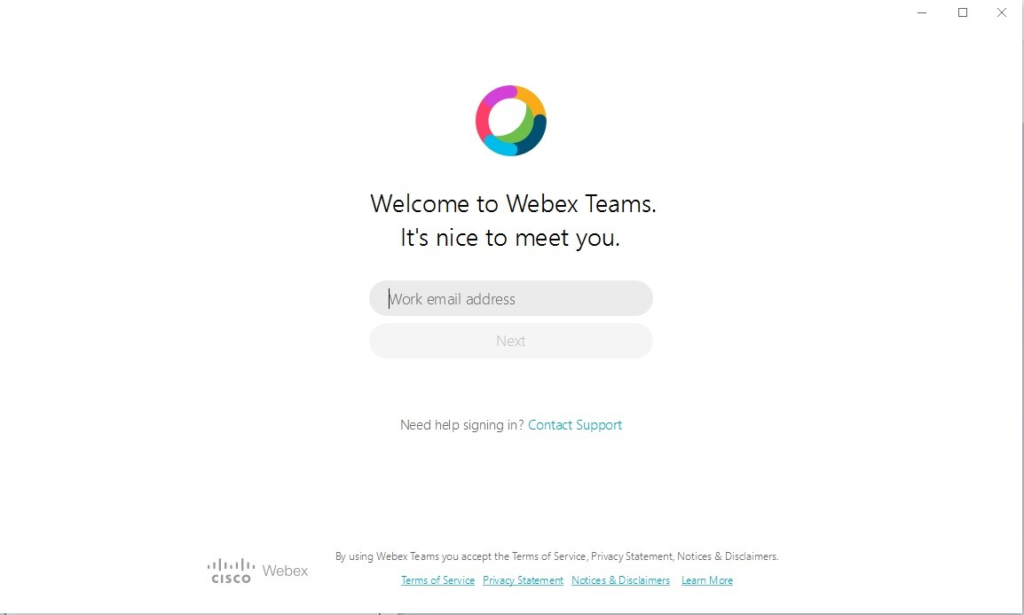
After you press Agree on the EULA, Webex Teams will have you sign in. You will enter your Gettysburg email address and press Next.
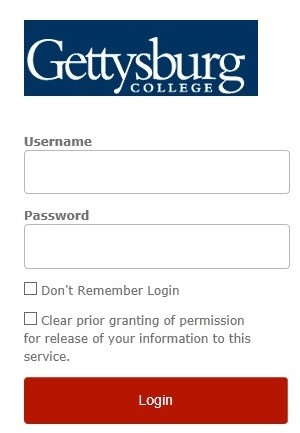
You will be presented with the Gettysburg College Single Sign On page. Please enter your Gettysburg username and password.
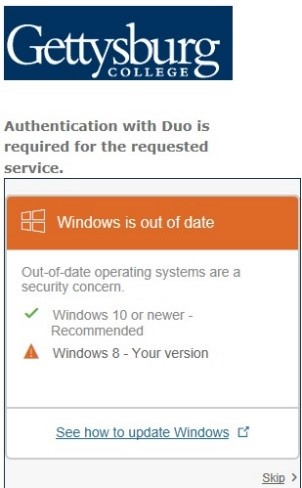
Once you sign in with your credentials, the Duo Authentication will be displayed. Please select an option to Authenticate.

If you encounter any messages like the one pictured below, you can click on Skip to bypass.
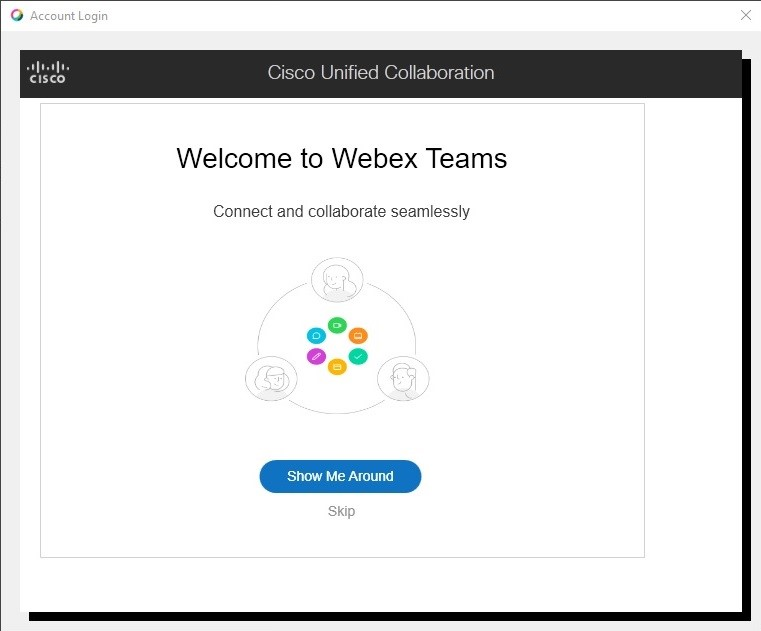
You will be presented with the Main Screen of Webex Teams. You can select the “Show Me Around” tutorial or you can skip the tutorial.
You will need sign in again with your Gettysburg username and password.

You will now be presented with the main screen.
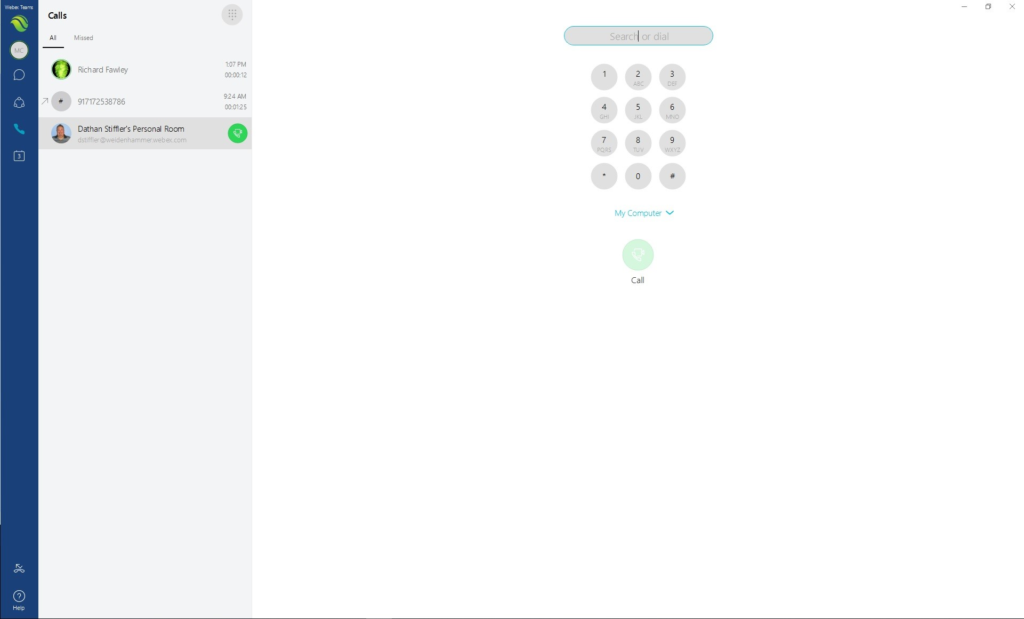
If you see this logo in the bottom left corner, then your Webex Teams is setup correctly.

If you see this logo in the bottom left corner, then your Webex Teams might be experiencing an issue with the Phone settings.

If you see the Amber logo, you will need to go the settings under your Avatar.
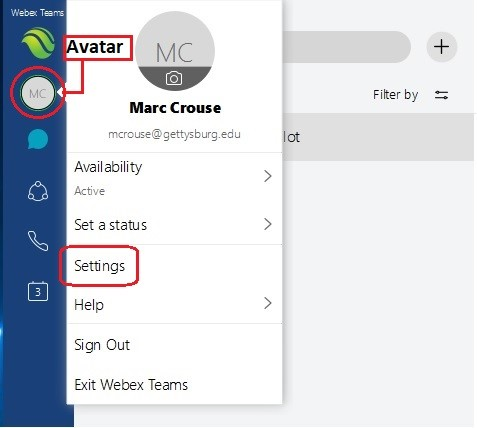
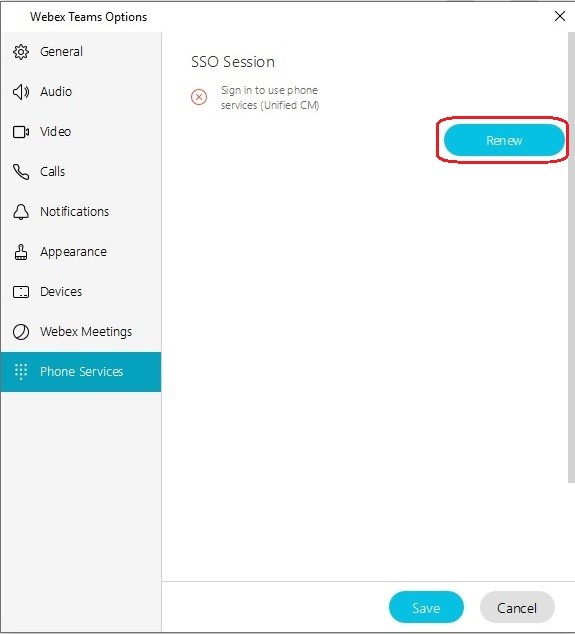
Once in the settings you will click on Phone Services.

Click on Renew
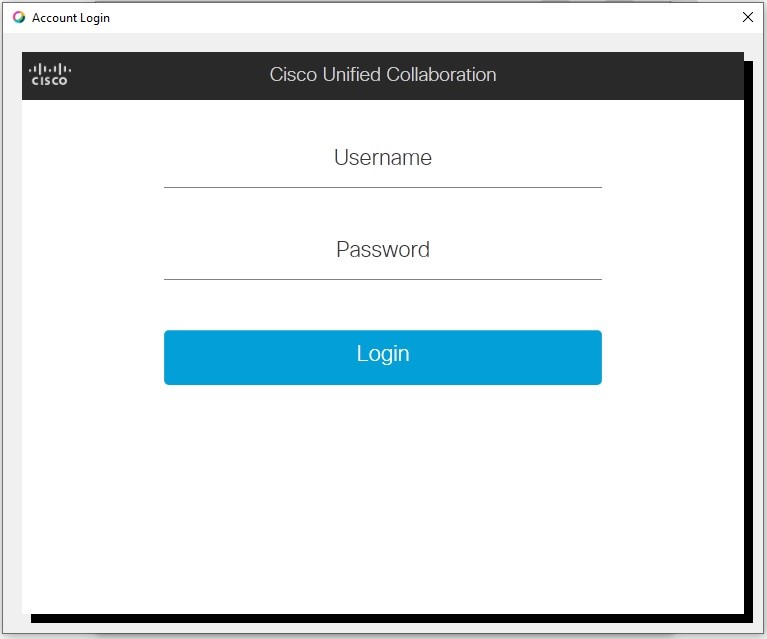
After clicking on Renew, sign in with your Gettysburg username and password.
The Renew button should turn grey, and the Red X should turn into a Green Checkmark.
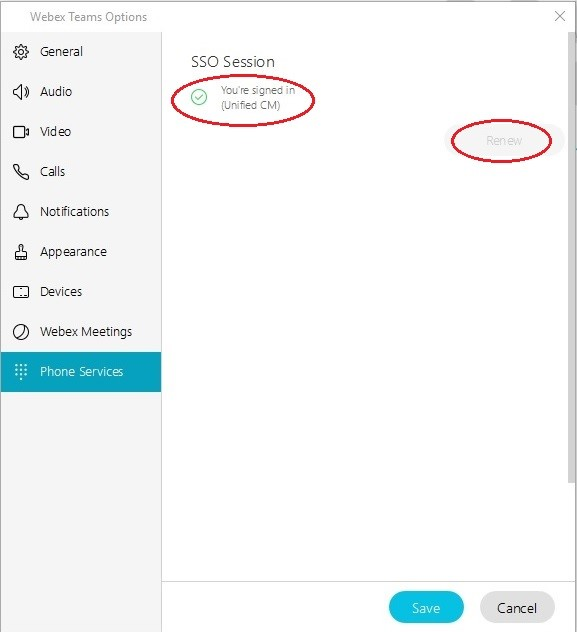
Select the Save button to save the settings.

Note: When using your Soft Phone to make phone calls, dial as if you are dialing from your office phone. You will need to dial 9 for an outside line, then the 10 digit number. For dialing another campus extension, just dial the 4 digit extension.