
Using the Snipping Tool to Record the Screen
The Snipping Tool included on PCs running Windows 11 has a built-in screen recorder that allows you to capture activities on your computer screen.
- Open the Snipping Tool application on your computer.
- Select the Record option.
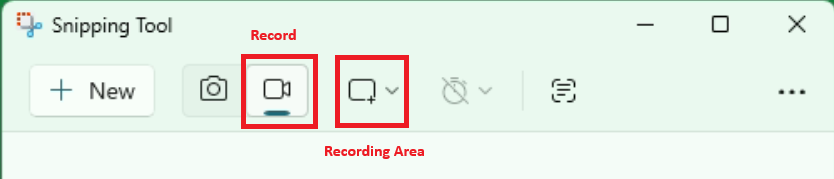
- Click the Recording Area button and select Rectangle.
- Click the New button.
- Click and drag to select an area you would like to record.
- Click the Microphone button to mute or unmute your microphone while recording.
- Click the System Audio button to mute or unmute the system audio while recording.

- Click the Start button to begin recording.
- After a three second countdown, a Record Tool Bar appears with several; buttons:
- Pause Recording
- If you click the Pause Recording button, it turns into a Resume Recording button.
- Stop Recording
- Click the Stop Recording button to finish the recording and open the video in the Snipping Tool.
- Discard Recording
- Click the Discard Recording button to delete the recording.
- Pause Recording

- After stopping the recording, click the Save as button.

- Name the file, choose a save location, and click the Save button.
