How to Download & Install Webex Teams for Windows
A downloadable copy of these instructions is available here.
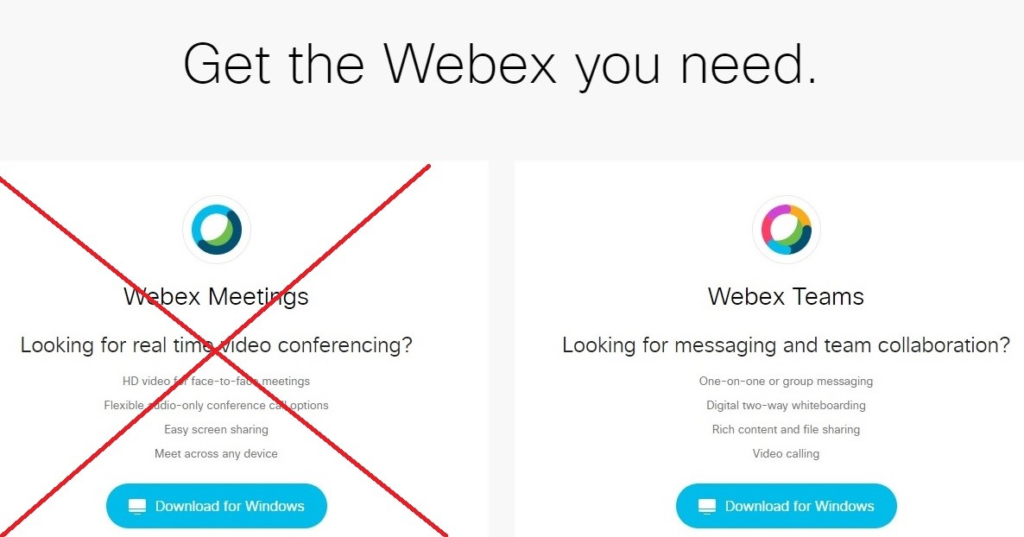
Follow the link to download Webex Teams: https://www.webex.com/downloads.html/
Download Webex Teams for macOS not Webex Meetings.
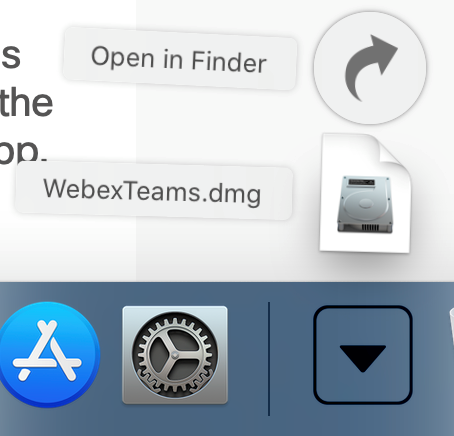
Once downloaded, you can run the WebexTeams.dmg from the browser or from the Downloads folder. If running from the Browser, you will select the “Downloads” dropdown arrow. Find the downloaded installer and run it.
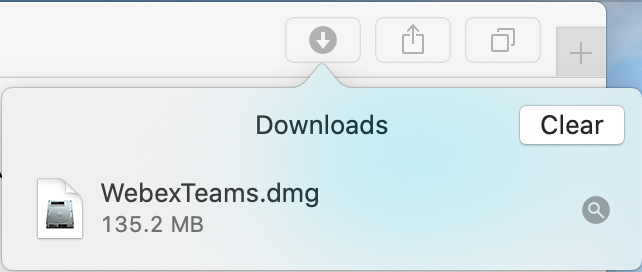
If you are running from the Downloads section of Mac OS, open Downloads which is located next to the Trash.

From there you will run the WebexTeams.dmg.
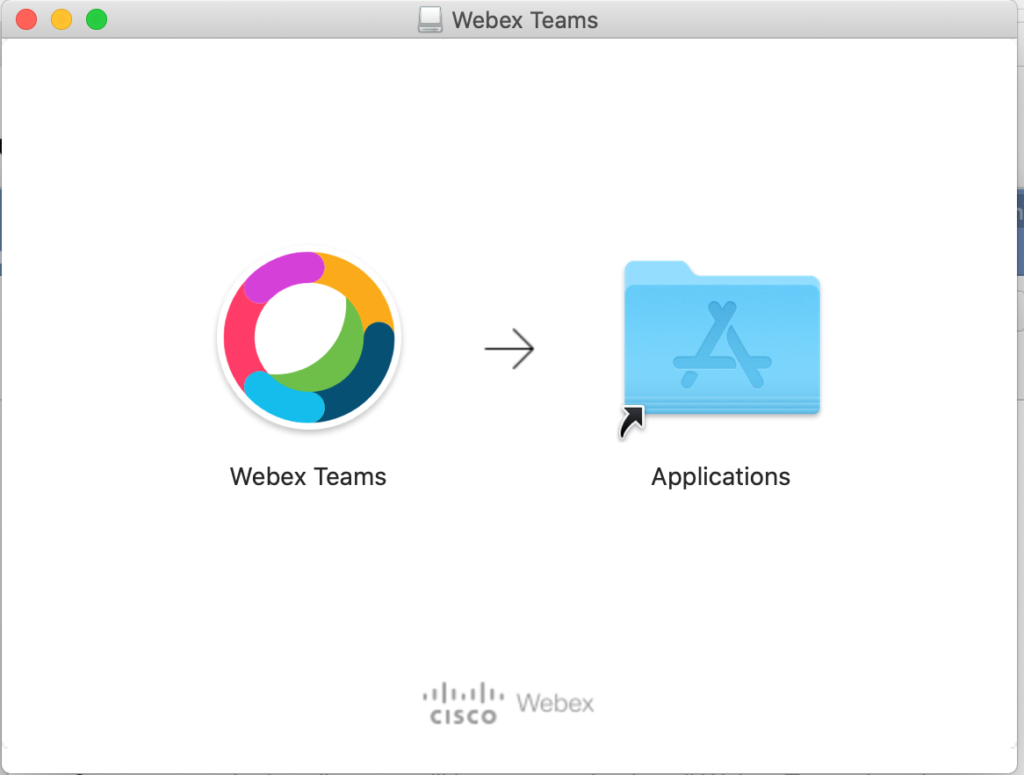
Once you run the installer, you will be prompted to install Webex Teams into the Applications folder. To do so, select and hold the Webex Teams icon and Drag it over to the Applications folder.
After copying Webex teams to Applications folder, open the Applications folder and then open Webex Teams.
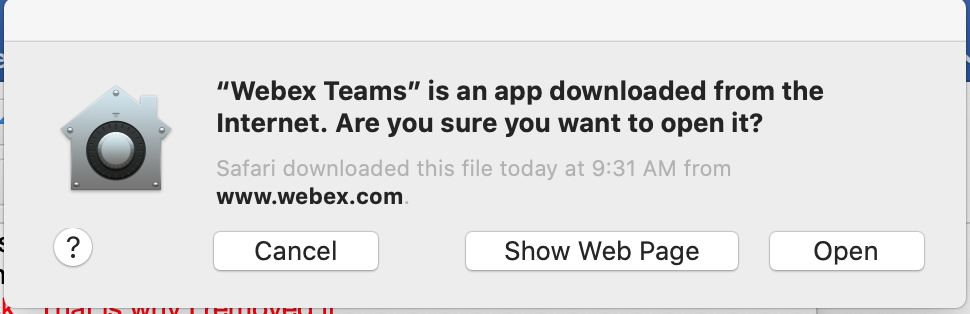
When you run Webex Teams for the first time, Teams will be verified by the Mac OS.

A pop up will present itself asking if you want to Open Webex Teams. Select “Open”.
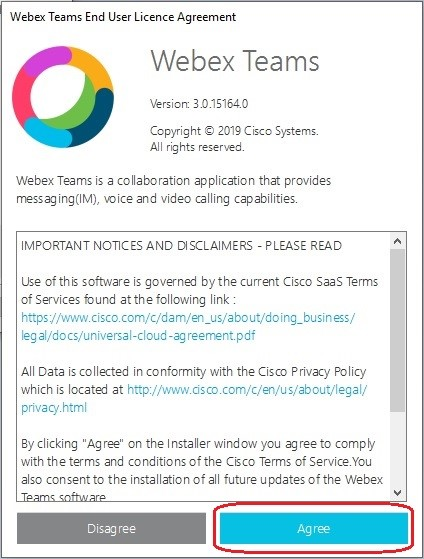
Once Webex Teams opens, you will be presented with the EULA (End User License Agreement). Select “Agree”.
After agreeing to the EULA, the Webex Teams login page will appear. Please sign in with your Gettysburg Email address and select “Next”.

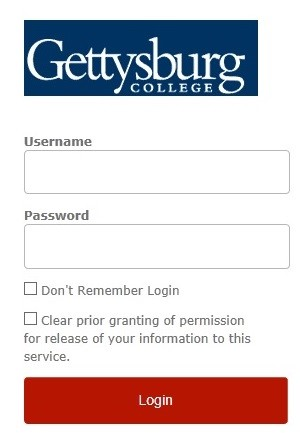
You will be presented with the Single Sign On page for Gettysburg College. Login with your Gettysburg Username and Password.
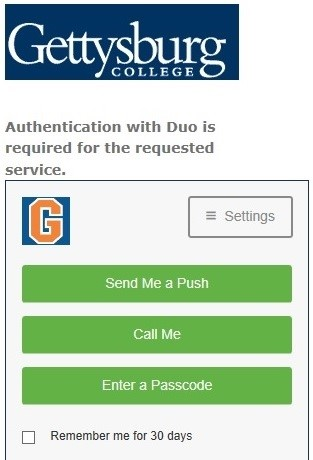
Once you sign in with your credentials, the Duo Authentication will pop up. Select an option to Authenticate.
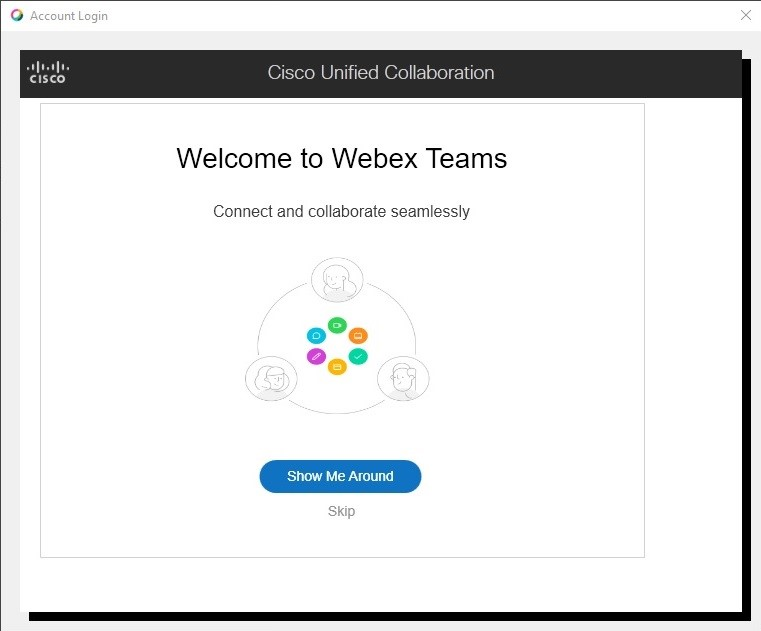
You will be presented with the Main Screen of Webex Teams. Select “Skip” to continue the install.
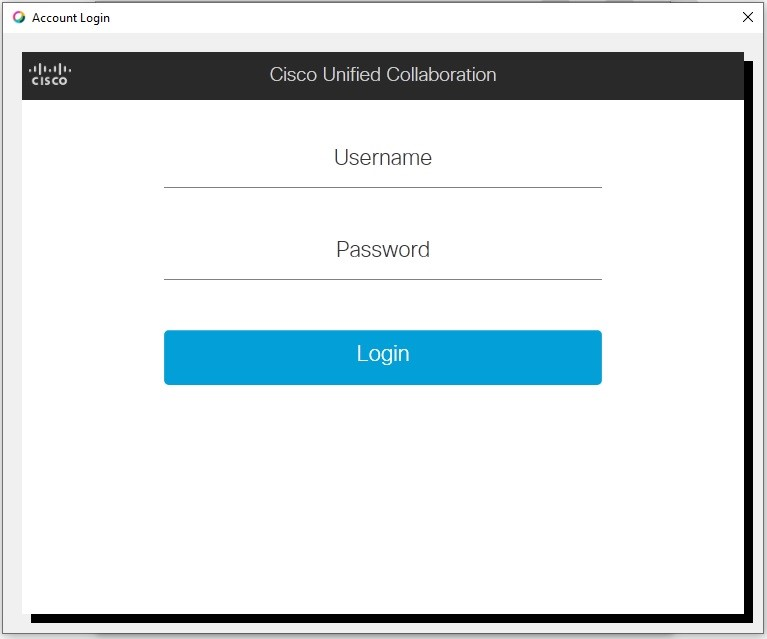
A Cisco Unified Collaboration window will appear. Enter your Gettysburg Username and Password. Select “Login”.
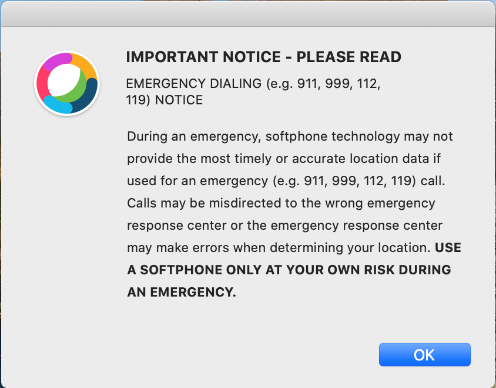
After you Login, an Important Notice page should pop up. Select “OK”.
The phone icon should go from Amber to Green with Arrow.

If a Notifications window pops up for Webex Teams, select “Allow”.
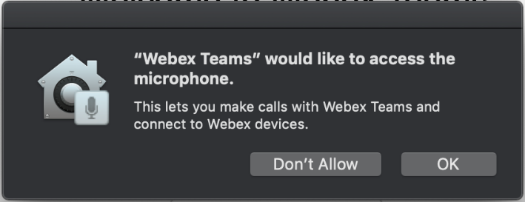
A security popup asking if you would like to allow Webex Teams access to your Microphone will pop up. Select “OK” to allow Webex Teams access to the Microphone.
To activate the Video Call option, you will need to go into the Webex Teams Preferences.
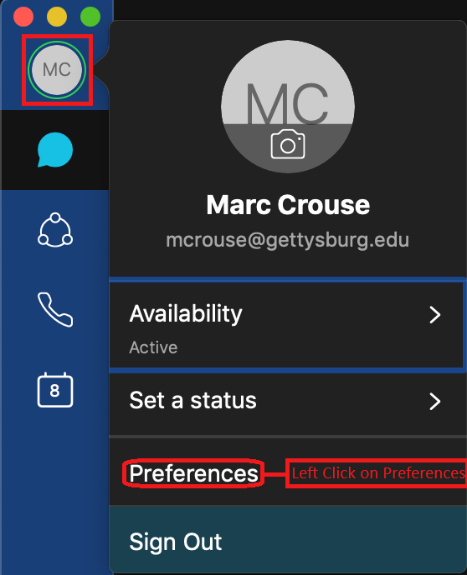
Select the Video Icon.

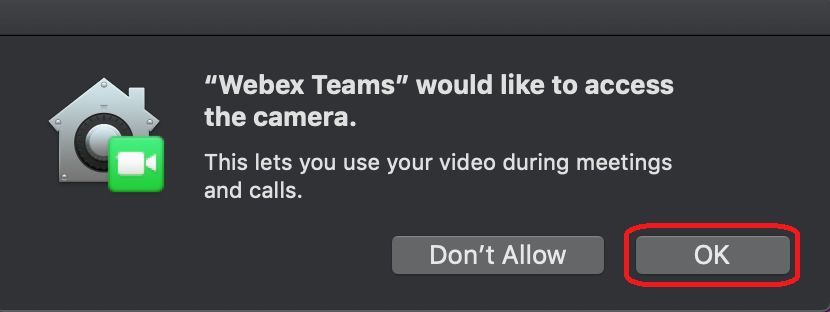
After selecting the Video Icon, you should be presented with a Webex Teams Pop up asking you to grant access to the Camera on your MacBook. Select “OK”
You can close out of the Preferences and you are all set to use Webex Teams.

Troubleshooting Steps:
If things are not working properly, please connect to the Gettysburg College network via VPN and make sure your Symantec Endpoint Protection has received the most recent updated policy. There were several updates required for Webex Teams to function properly.
Note: When using your Soft Phone to make phone calls, dial as if you are dialing from your office phone. You will need to dial 9 for an outside line, then the 10 digit number. For dialing another campus extension, just dial the 4 digit extension.